.png)
A how-to guide to My Dashboard portal including topics such as creating companies, billing groups, whitelists, and packages templates
Table of Contents
-
Networking View
Uses
My Dashboard can be used in several ways. Namely:
- To view CDRs
- To view location updates
- To troubleshoot
- To create new inventories
- To create new billing groups
- To manage SIM cards
- To create whitelists
- To create packages templates
How to Navigate My Dashboard
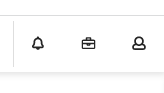
After logging in, the user will see a number of menus and icons on the screen. On the top right corner, there are icons for notifications, support, administrative settings, and general account settings.
On the left hand side, there are two menus: Networking View and Provisioning.
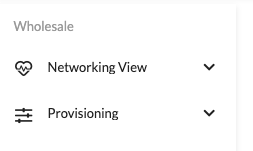
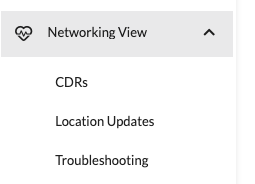
Under Networking View, the user will find: CDRs, Location Updates, and Troubleshooting.
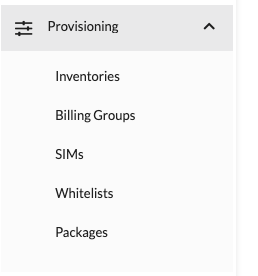
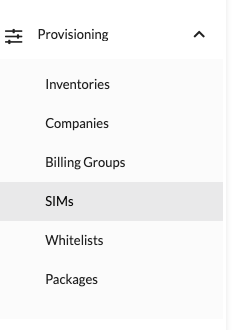
Under Provisioning, the user will find Inventories, Companies, Billing Groups, SIMs, Whitelists, and Packages.
Note: Depending on the access level of the user, some menu options may not be available.
Networking View
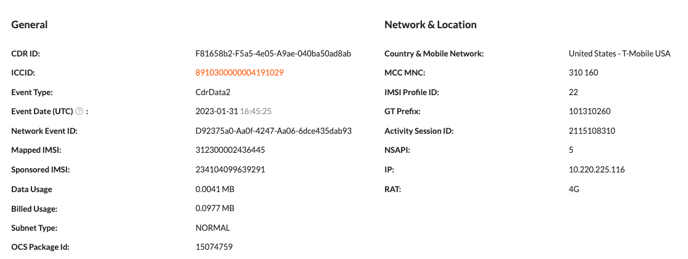
CDRs
To view CDRs:
- Go to Networking View > CDRs
- Type or paste the ICCID number into the search bar and click search

- Select specific CDR

Among other information, user will see the following:
- Country & Mobile Network
- ICCID
- MCC MNC
- IMSI Profile ID
- IP (This is not a public IP address)
- Package Template (including throttles)
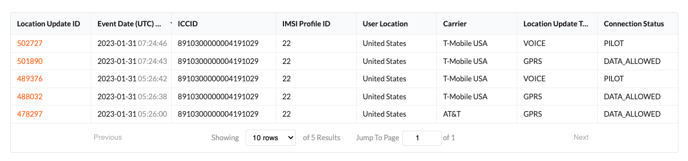
Locations Updates
The Location Updates section gives the user general information about when and where the device was last updated. Each time the SIM goes offline and comes back online, a new location update is added to the list.
- Type or paste the ICCID number into the search bar and click search.

User will then see the following:
- Event Date (UTC)
- IMSI profile ID (each IMSI may have a different rate)
- User Location
- Carrier
Troubleshooting (Tab)
To see if there is a live data session go to Networking View > Troubleshooting
- Type or paste the ICCID number, and click Submit.
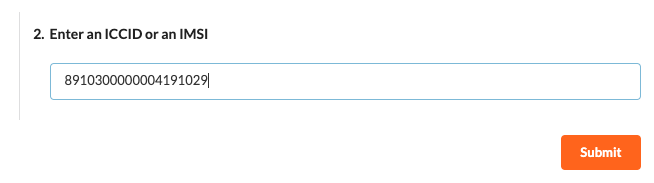
If there is a live data session, it will be displayed here.

Company Creation Flow for Resellers
- Create a Company
- Create an Inventory
- Configure the Inventory
- Create a Billing Group
- Request SIMs be transferred from parent (Pond) inventory to child (reseller) inventory
- Create a Package Template and Apply to SIMs
- Create a Whitelist and Apply to SIMs (optional)
Creating a Company
- Click on Provisioning
- Click on Companies
- Click on Create Company

- Enter the company name

- Enter the company's contact email address.

Note: Enter an email address such as employee@company.com in this field -
Review Submission

- Create a company
Creating an Inventory
- Click on Provisioning
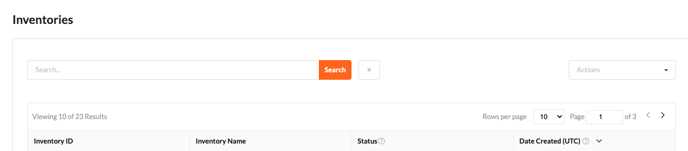
- Click on Inventories
- Click on Actions
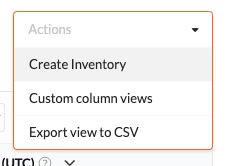
- Select Create Inventory
- Select the company the new inventory is for

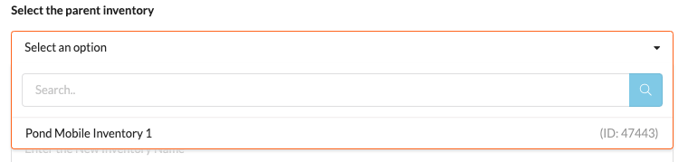
- Select the parent inventory
- Enter a name for the new inventory

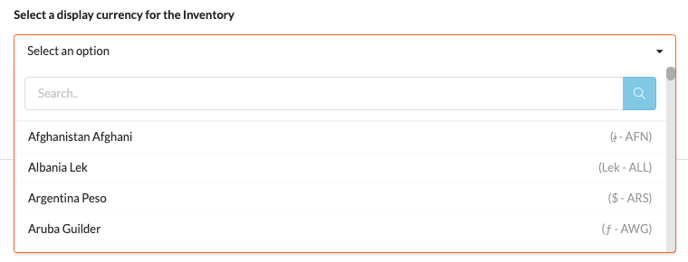
- Select a display currency
- Review Submission
- Create Inventory
Note: It can take up to 15 minutes for a new inventory to appear on My Dashboard.
By clicking on an existing Inventory ID, the user can see all of the available inventory details, as well as billing details.
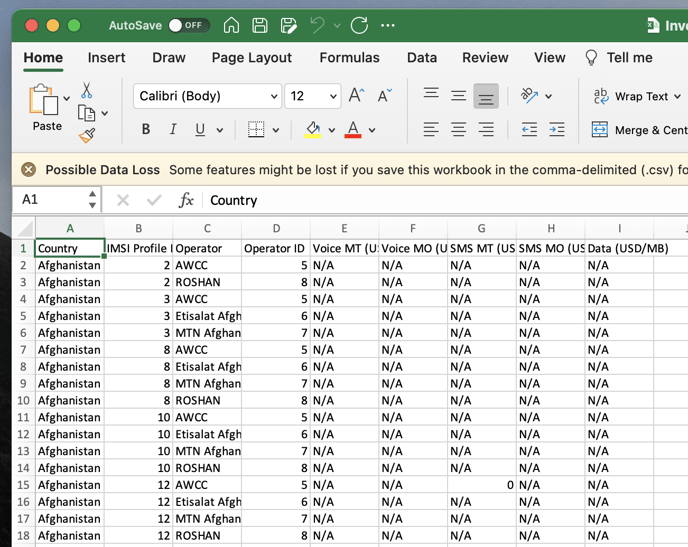
In the Profile Configuration tab, the user can import and export network access and rates sheets, which are necessary steps to configure an inventory. By making changes to the network access file, you can "allow" or "block" access to certain countries, IMIs, and networks.
Configuring an Inventory
Update network access file by following these steps:- Download an existing network access file from another inventory to view/modify entries.
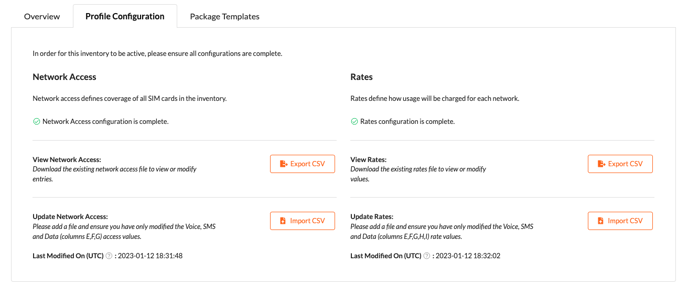
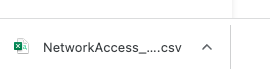
- Open file in Excel
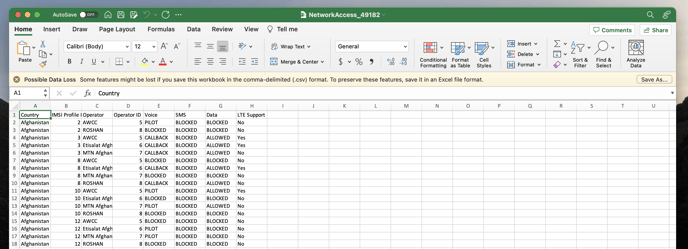
- Filter only the countries, IMSIs, and carriers that you want to allow access to

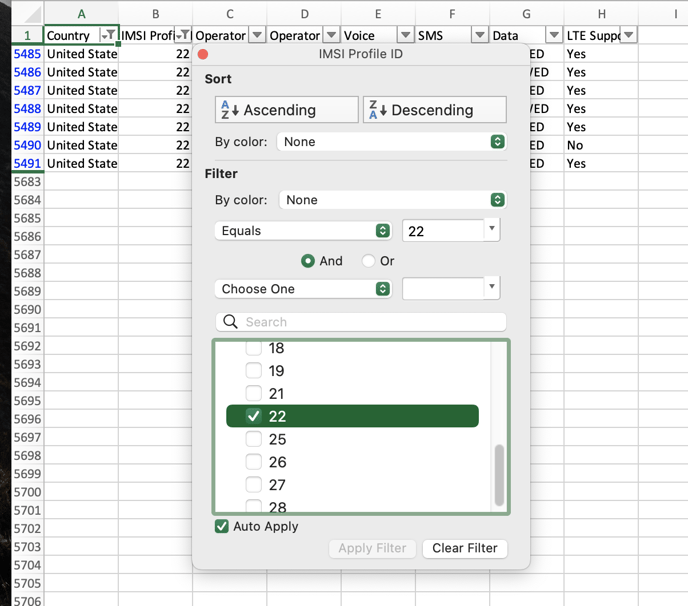
- Copy filtered data (all the other options will be blocked)
- Create a new spreadsheet
- Paste data (these are the features your SIMs will have access to)
- Set Data to "ALLOWED" and Voice to "PILOT".
- Save as a CSV file.

- Click on Inventory ID of inventory you wish to configure
- Go to Profile Configuration tab > Network Access,
- Import CSV file created in step 8.
Update rates sheet following these steps:
- Download an existing rates sheet from another inventory to view/modify values.
- Filter and input rates needed
- Save as CSV file.
- Click on Inventory ID of inventory you wish to configure
- Go to Profile Configuration tab > Rates
- Import CSV file created in step 3
Note: Rates define how much customers will be charged per MB in each network
Creating a Billing Group
- Click on Provisioning
- Click on Billing Groups
- Click on Actions
- Select Create Billing Group
- Select the inventory you are creating a billing group in

- Enter the name of your billing group

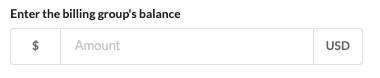
- Enter the billing group's balance
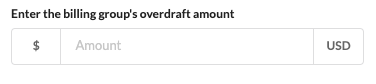
- Enter the billing group's overdraft amount
- Review Submission

- Create Billing Group

Note: After the billing group has been created, the rates need to be added similarly to how its done for an inventory
Creating a Package Template
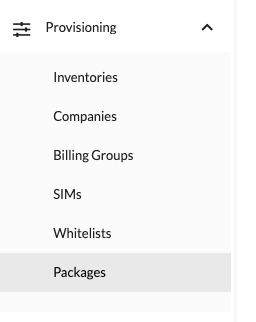
- Click on Provisioning
- Click on Packages
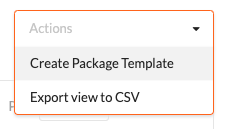
- In the Package Templates tab, click on Actions
- Select Create Package Template
- Select the inventory you are creating a package template for

- Enter the new package template name

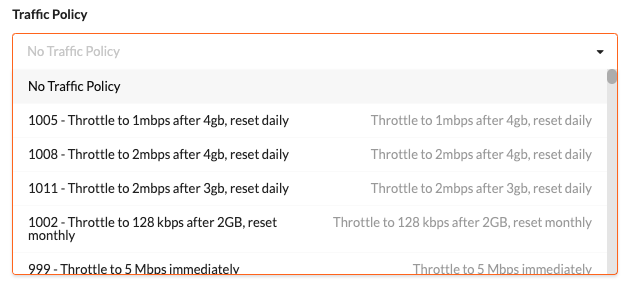
- Select a Traffic Policy (This list covers most case scenarios. Custom ones can be created if needed)
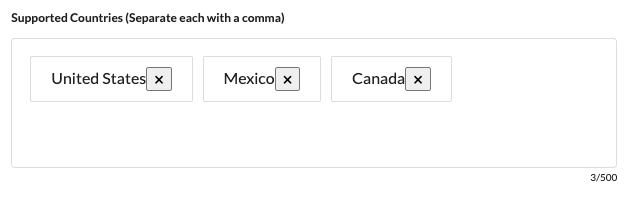
- Supported Countries. Start typing countries names and suggestions will appear
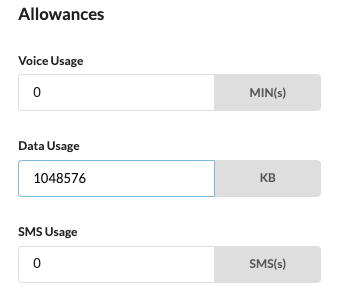
- Make the following allowances:
- Voice Usage: 0 min.
- Data Usage: total amount of data in KB
- SMS Usage: 0 SMS(s)
- Fill out/Select the appropriate options under Activation Policy
- Activation Expiry: 744 Hours
- Activation Type: First Location Update Event
- Earliest Activation: 1st of the current month, 00:00
- Duration Type: Dynamic Duration

- Select Date & Time Range under Availability Policy
- Earliest Available: Today's date, 00:00
- Latest Available: 10 years from yesterday's date, 00:00

- Add Notes if needed

- Review Submission
- Create Package Template
Note: If a package is created with a dynamic duration, an automation should be created for monthly renewal since dynamic duration will terminate the package at the end of the month and automation will create and apply a new one at the start of the month.
Creating an Automation
- Click on Provisions
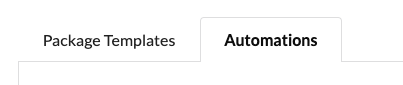
- Click on Packages

- Go to Automations tab
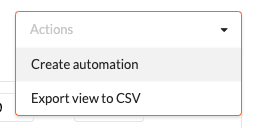
- Click on Actions
- Select Create Automation
- Enter Automation Name (for example, package name)

- Select Package Template

- Enter comma-separated list of SIM's the automation will be applied

- Select automation start date and time: Today's date 00:00

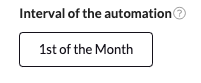
- Select interval of the automation: 1st of the month
- Review Submission
- Create Automation
Creating a Whitelists
Whitelists are used to allow/block certain countries, IMSI profiles, operators (carriers) and services (voice, SMS, data).
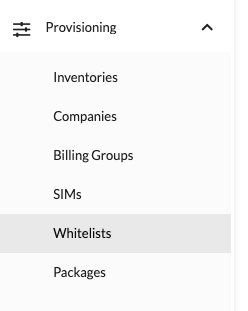
- Click on Provisioning
- Click on Whitelists
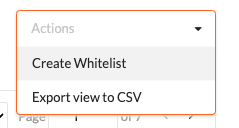
- Click on Actions
- Select Create Whitelist
- Enter the name of your whitelist

- Select the inventory you are creating a whitelist in

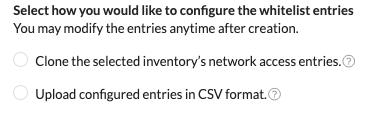
- Select how you would like to configure the whitelist entries (namely, Clone or Upload)
- Export main network access file (Inventories > Profile Configuration Tab > Network Access > Export CSV > Open downloaded file
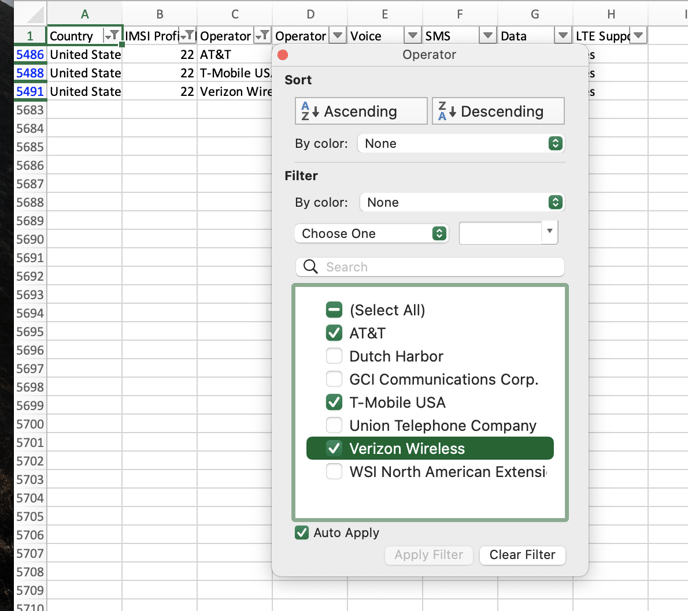
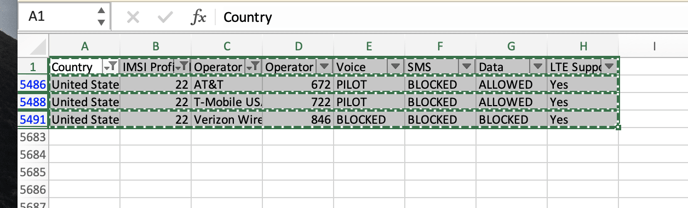
- Filter countries, IMSI profiles, and operators SIM will be ALLOWED in. For example:
- Countries: USA, Canada, and Mexico
- IMSIs: 2, 10, 22, and 23
- Carriers: AT&T and T-Mobile only in the US, All networks in other two countries
- Copy and paste filtered data into a new spreadsheet
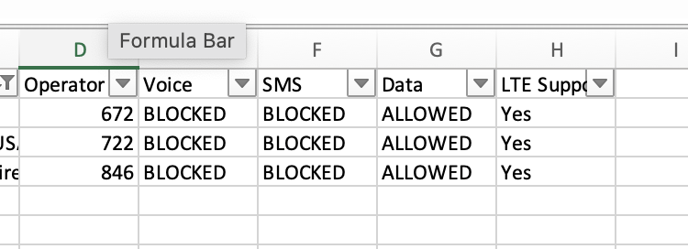
- Make changes needed. (Use keywords "ALLOWED," "BLOCKED," and "PILOT" where appropriate)
- Close original spreadsheet without saving changes
- Save new spreadsheet as a CSV file and upload CSV file (see Step 7 above)
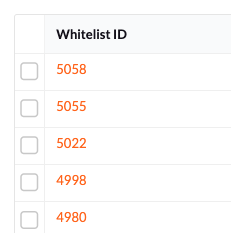
- Click on Whitelists (under Provisioning) > Search for Whitelist > Click on Whitelist ID

Open the new whitelist. You should see following tabs:
- Overview
- Whitelist Entries (You can look at the IMSIs and networks allowed under a particular country by clicking on it, or you can export a CSV file and search/filter for the information you need). To allow any networks, you can change them manually and save the changes.
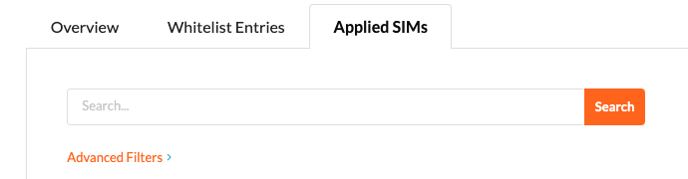
- Applied SIMs. Click here if you want to apply SIMs to your whitelist. You can search and apply individual SIMs or multiple ones by clicking Advanced Filters and entering ICCID Range From and ICCID Range To
Changing a Whitelist
- Click on Provisioning
- Click on SIMs
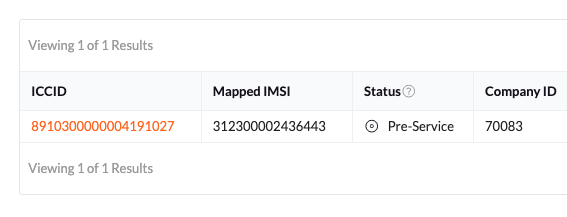
- Type in or paste the ICCID and search
- Select the SIM from the list of results
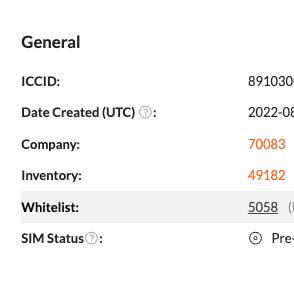
- Select Whitelist
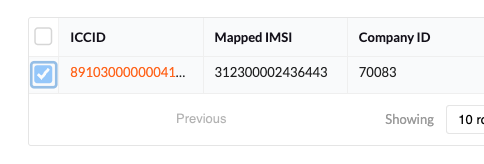
- Go to the Applied SIMs tab
- Input the ICCID again and search
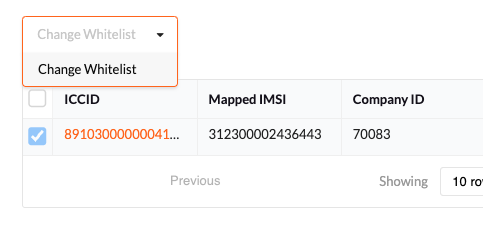
- Select the SIM from the list of results
- Click on Actions
- Select Change Whitelist
- Search and select the new whitelist to link the selected SIM(s) to
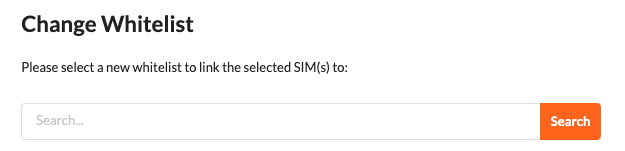
- Review selected items

- Confirm

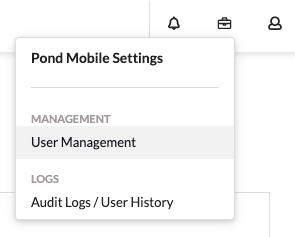
Adding Users
To add a new admin user for a particular company, do the following:
- Login as company admin
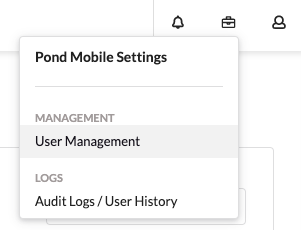
- Click on Administrative Settings
- Select User Management
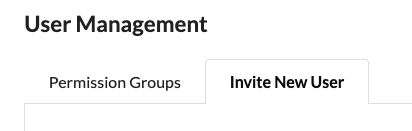
- Go to Invite New User tab
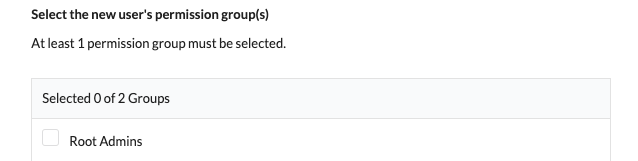
- Enter the new user's email address (for Pond Mobile employees being added as admin users, email used should follow the format firstname.lastname+#@pondmobile.com, where # is a different number for each company he/she is added as an admin)

- Select the user's permission group(s) (Root Admins permission group exists by default, other permission groups can be created)
- Send invite

New user will then follow these steps:
- Open email invitation
- Click on link
- Enter required personal information and create password
Managing Users
To create other permission groups, follow these steps:
- Login as company admin
- Click on administrative settings (briefcase icon)
- Select User Management
- Under Permission Groups tab, click on Create Permission Group

- Enter a name for the new permission group

- Review submission

- Create Permission Group

To give different permission groups access to different functionality in the portal, follow these steps:
- Login as admin
- Click on administrative settings
- Select User Management
- Click on permission group you wish to change

- Click on the Permission Settings Tab

- Click Edit and check appropriate boxes

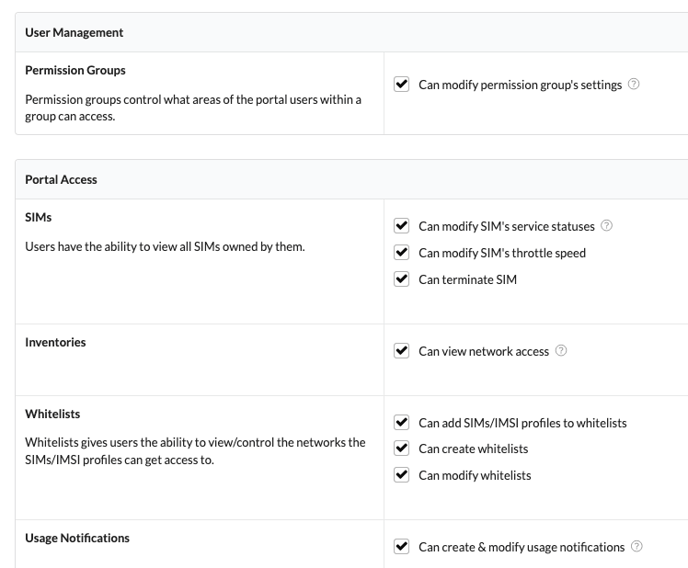
- Review Changes

- Confirm Changes

Troubleshooting (Steps)
If a SIM doesn't work properly, check the following:
- The device has Data Roaming option ON
- The device has APN set to "pnd" (in US), "rh" (in Europe), "globaldata" (everywhere else)
- Make sure the company's inventory is configured correctly.
- Network Access and Rates files have been imported in the right format (CSV file)
- The correct countries, IMSIs, carriers, etc. have been "ALLOWED"
- Rates have been entered for "ALLOWED" countries, IMSIs, carriers.
- Make sure the SIM's Billing Group is configured correctly.
- Rates file has been imported
- Rates have been entered for the appropriate countries, IMSIs, carriers, etc.
- Make sue the SIM has an available (or active) package that activates on first location update, with the required data limit, supported countries, and duration.
- If package template duration is set to "Dynamic", then make sure there is a corresponding automation in place for monthly renewal.
- If SIM is "Draining from Billing Group Balance," a data package is not needed. What is needed is for the Billing Group to have a remaining Balance to drain from. Also, see step above about Billing Group rates.
- To identify potential causes of issues search for ICCID on CDRs, Location Updates, and Troubleshooting tabs under Networking View:
- Check for usage, locations updates (for example, very frequent), open data sessions (for example, zero, one, multiple). Things to look for include dates, times, durations (short and in rapid succession can trigger SPAM Control), networks, IMSIs, connection status (pilot, data allowed), etc.